Mercedes SLK World banner
Status
Not open for further replies.

No holes OEM front license plate holder

51K views 52 replies 26 participants last post by  craiggraf  
#1 · (Edited by Moderator)
After the recent incident at Mount Wilson where Aaron (Noober) was stopped by a LEO for not having the front license plate mounted, I was able to do a mod with the OEM front license plate holder. No holes need be drilled unto the front bumper cover.

The inspiration and idea came when I was with the mate at the outlet stores in Cabazon (near Palm Springs). I was walking around the back parking lot near Starbucks when the inspiration came (I will post photo of inspiration later) and the ideas came while sipping capuccino.


Here's how the finished product look like. The mod is for temporary use and not meant to replace intended OEM mounting.

Image
 
  • Like
Reactions: Gregg and -1-
Save
#2 · (Edited by Moderator)
Here's how

So on with the modification details. It cost me nothing other than labour as I had all the materials scattered in the parts box or elsewhere at home. There are mainly 2 assemblies:

1. The T-hook anchors
2. Simple mod to the rear of the OEM license plate folder (A171 885 09 81).

Tools:

1. Powered drill, 1.6 or 2 mm drill bits (new and sharp), and other assorted drill bits
2. Motor-Tool (with cutting attachment) to cut pins and shorten screws
3. Sharp blade or heated hobby knife to cut dense foam
4. Pin vise to hold drill bit for the initial guide hole before using powered drill
5. Protective eye-wear
6. Mini table vise, to hold pins and screws while working with motor tool to cut or shorten
7. A punch to make holes in dense foam material, I happen to have 6mm punch biopsy tool

A. Making the T-hook anchors

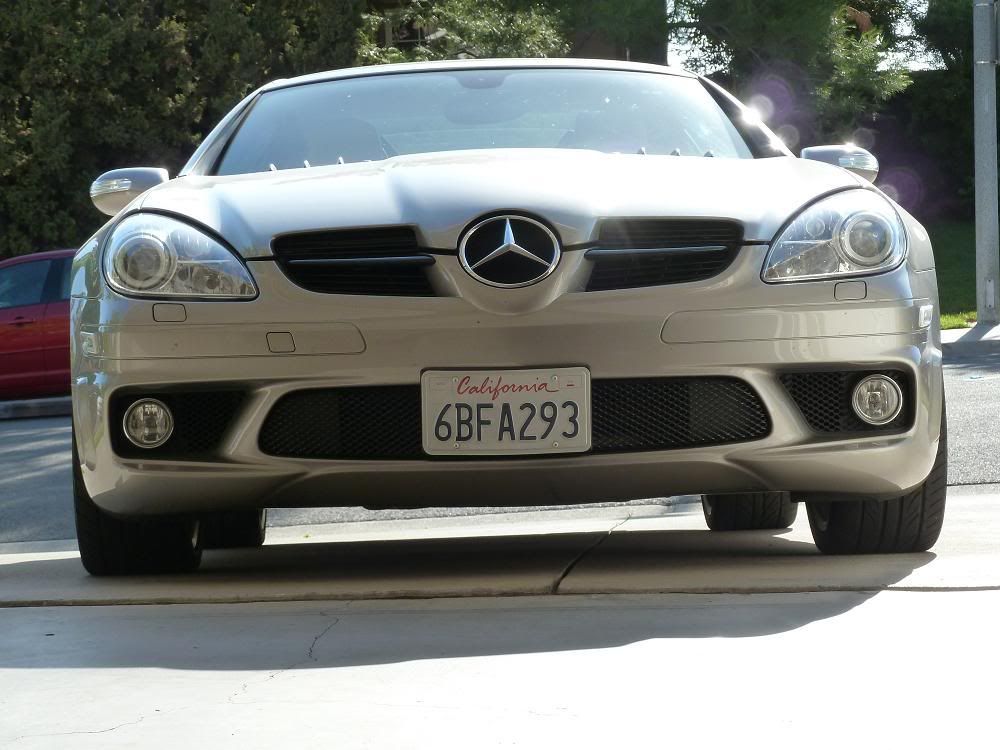
This is the important piece as it allows one to attach the OEM front license plate holder to the lower grille without having to drill holes on the bumper cover.

Materials:

1. a pair of M4x27mm female panel connecting sleeve with its associated male machine-screw (this is used by modular cabinet makers to attach Euro style pre-fab garage storage cabinets <with 5mm series of pre-drilled holes> side-to-side, check the net for sellers of these parts, I gather the local hardware store may have them, I happen to have a pair in the parts box)
Image


2. Wire, to make pins, about 1.6mm or 2 mm in diameter (correpsonds to one's smaller drill bits)

3. common household rubber faucet washer, one pair


Method:

1. Unscrew the associated male machine-screw from the M4x27mm female panel connecting sleeve

2. With the drill bit (I used the 1.6mm) firmly locked in the pin-vise, drill a starter hole or depression at the non-threaded end of the panel sleeve
Image


3. Finish making a hole through the panel sleeve with a powered drill, taking great care (drill bit has to be new and sharp to make drilling easier) as the bits are sharp (wear protective eyewear) and make certain the hole is perpendicular to long axis and cuts through the center
Image


4. Cut two 16mm-long wire pins of the corresponding diameter as the drill bit used using motor tool and a mini-vise

Image


5. Insert the 16mm pins through the holes made on the panel sleeve (one for each panel sleeve) and secure with 5-minute epoxy

6. Insert household faucet washer at the threaded end of the panel sleeve, this is your T-hook anchor assembly
Image


B. Simple mod to back of OEM license plate holder

Materials:

1. Dense foam material
2. Double sided tape

Method:

1. Cut two pieces of dense foam material to the following dimensions 8cm(wide) x 13cm(long) x 2.5 cm (thick)

2. Place one piece against the back side of the OEM license plate towards the right and another piece towards the left side. Mark the foam from the front using the pre-sunk hole (the one closer to the center) on the license plate holder with a suitable contrasting color marker.

3. Remove the two dense foam from license plate holder and punch a 5 or 6mm hole in each. The technique I use is to flatten the foam with a heavy metal plate that has a hole in the center. The hole in the metal plate is aligned with the mark made. I then use the punch biopsy and twist through the foam to make a nice sharp-bordered opening

4. Attach the foam to the back side of the license plate holder with double-sided tape. Make sure to align the hole just punched to the hole on the license plate holder (the one towards the center)

5. Place license plate unto the face of the license plate holder and mark the 4 holes. Pre-drill the four holes to a diameter smaller than the self-tapping screws that will be used to mount the license plate.

6. Pre-tap the 4 mounting holes with the mounting screws. Shorten the license plate mounting screws to about 10mm. You want these only long enough to hold the license plate securely but not scratch the bumper cover when mounted.
 
Save
#3 · (Edited by Moderator)
Mounting unto front grille

To mount the OEM license plate holder unto the grille:

1. Place the OEM license plate holder against the bumper cover and mark the center and the column on which the two holes of the license plate holder are located with masking tape strips

Image


2. Insert the T-hook anchor horizontally unto the third hole down from the lower border of the front bumper cover, use the masking tape strips as a guide. With 16mm pins, insert one arm of the T-hook first, then move this to one side and the other arm should clear the remaining horizontal space.

Image


Image


3.Turn the T-hook anchor 90 degrees and push the rubber washer in against the grille. This will act like a friction lock to hold the panel sleeve in place. To get some leverage holding the sleeve while pushing in the rubber washer, I would thread the male screw unto the sleeve for 3 or 4 turns and use the screw as a hand-hold or finger-hold. Once in place slowly remove the male screw without disturbing the "anchored" panel sleeve.

Image


4. Place the other panel sleeve in the same manner to the corresponding grille opening 27 cm away.

5. Place the foam openings, located at the back side of the modified OEM license plate holder, and carefully align them against the sleeve. Do this gently with a light touch.

6. Once in place and aligned, push firmly against the dense foam (from the license plate holder side) with one hand without disturbing the panel sleeve alignment. You should see the aluminum sleeve peek through the pre-sunk hole in the license plate holder. Gently screw-in the male part(screw), without pushing the panel sleeve inward. Incidentally I shortened the male screw by 5mm, to make certain the head of the screw threads all the way unto the threaded tube. Do the same on the other side.

When finished it should look like the photos below:

Image


Image


Detail from the top:

Image


7. Double check that the T-hook anchors are firmly in place, a gentle tug will confirm that the dense foam is pushing against the grille and back side of the license plate holder to keep the T-hook anchors in place. Dense foam acts like a light-to medium strength "spring", so-to-speak.

8. Now attach the license plate to the holder using the four shortened mounting screws. Since the 4 holes are pre-tapped. Mounting should be easy. Finished mod should look like the following:

Image


Happy modding !!
 
Save
#4 ·
Here's the schema

Schema attached. Hope it illustrates the above steps better. Don't hurt your neck turning sideways, just print the pdf. LOL:biglaugh:
 

Attachments

Save
#5 ·
Thank you for a great lay out here on how to. Very well done. I have to say i am just happy that we don,t need a Front plate here in Arizona. Those ugly plates in the front just kill the look of the a beautiful car. I could handle a Europlate in the front but those Us plates remind me of a piece that felt of the Spaceshuttle during lift off.
 
Save
#6 ·
Glad to see my incident has provided you with some glorious inspiration. Maybe I need to get pulled over while you're around more often! Might get an idea for a full-fledged LEO repellent.

Thanks again for the great mod! I will certainly try this after i get done with my most recent ventures (all of which you shall see at our next meet.)
 
#10 ·
Very nice, relatively easy job. :tu::tu:
 
Save
#13 ·
This is very neat. Have you tried to see if the washers will work themselves loose after prolonged driving along bumpy road? My friend has a similar construction on his 350Z but the bolt holders are actually connected through the grille to the frame behind it.

The other alternative that I have seen used to temporarily "mount" the plate in compliance with the law on the SLK, is to put it on the dash. Apparently on the SLK that places the plate within the range between the minimum and maximum mount heights as dictated by the law. I gather you'd have to take some special precautions there to avoid the plate damaging the dash if it were to slide around. Some kind of high friction material, maybe a rubber backing?
 
#38 ·
I've got one-very well made of high strength stuff-has stood up to many car washes and no bumper holes!!
 
Save
#15 ·
Eddy, great work as usual!! Did you consider using large diameter washers instead of the T's? Probably require removing the grill to mount the plate, but...
 
#16 ·
The purpose of this mod was to allow for temporary attachment of the front license plate holder without drilling holes on the front bumper cover, and to do this in a relatively short time with no permanent mounts attached.

Once the holes have been identified, attaching the front license plate holder takes 15 minutes or less. Removal is even faster (less than 5 minutes). The size of the T is limited by the honeycomb grille opening. The faucet washers held on pretty well. I will be testing this set-up next Sunday, at Lake Castaic BBQ meat-and-drive.

I guess another hole-and-pin (longer than 11 mm) may be used just after the rubber washer point, towards the front

There is another way of mounting to the grille opening. The anchor attachment is permanent, it needs to be painted black before placing on the grille to make it less observable.

I will post a photo later.
 
  • Like
Reactions: UK-C200
Save
#18 ·
Great work Eddy! And here in California, since it is just a "Fix-It" ticket (I presume), this is a really inexpensive way to make the repair, get the ticket signed off, and then go home and take the front plate off again. I have been driving with no front plates for the last 15 years, and still no tickets. Maybe I'm just lucky. I do like the GOMINIGO alternative if you don't mind spending around $80.00 usd.

And, for $150.00 usd, you can get this CLICKY HERE

 
Save
#19 ·
Photo of the inspiration

Saw this damaged part on the pavement near a container-sized garbage bin at Cabazon Outlet Stores near Palm Springs:

Image
 
Save
#20 · (Edited)
Permanent anchor

Here's my idea of a more-or-less permanent anchor on the front grille. The part needs to be pre-painted black and allowed to dry before mounting. The little hooks will insert nicely on the grille opening and will prevent any rotational movement of the part.

Image


Photo of the anchor in place at the front grille:

Image


This photo illustrates how the legs flange out behind the grille to stop the anchor from falling out. The flange on the "face" part stops it from falling in.
The "leg" part protrudes inward by 17mm. One would need a longer machine screw (prolly 5 cm long) and metal washers to attach the front license plate holder.

Image


Test or dry fit everything to make certain the position of the front license plate holder is in good alignment. Mark the borders of the selected openings with masking tape or marker before turning in the screw to flange out the legs of the anchor.


Disclaimer: the aforementioned modification(s) are non-approved by MB but merely represents some DIY ideas from a layperson. Please attempt only at own risk. Not responsible for damage or lost parts, e.g., front license plate.

I'll report back after Lake Castaic to see how the whole modification performs under driving conditions. That said, I only plan to use this when going into L.A. county.
 
  • Like
Reactions: TastyT
Save
#21 · (Edited)
Edited some parts of the aforementioned posts: I found out today that a 16mm-long pin will clear the horizontal opening of the grille by inserting one arm of the T-hook first, then move the body of the T to one side, the other arm will just barely clear the horizontal opening. 16mm makes for a more secure hold (when turned 90°) than the 11mm.
 
  • Like
Reactions: Durkatlon
Save
#22 ·
Eddy...any truth to the rumour (that I'm starting) that you were actually the fourth crewman on Apollo 13?
A buddy of mine just got hammered for $110 for not having a front plate on his Z06 here in Ontario... Cop had p*nis envy I suspect - buddy said he went "nose to nose" with the ghost car as he was leaving the parking lot after lunch on his first outing of the season! (no pun on outing either)
 
#24 ·
.....A buddy of mine just got hammered for $110 for not having a front plate on his Z06 here in Ontario... Cop had p*nis envy I suspect - buddy said he went "nose to nose" with the ghost car as he was leaving the parking lot after lunch on his first outing of the season! (no pun on outing either)
:confused:Take out all the variables and your buddy was driving without a front plate. Too many available options for anyone who gets caught to speculate "why me" and cry foul.
 
#23 ·
Update: The front license plate holder, as modified, held very well during today's Lake Castaic run.
 
Save
#26 ·
Durkatlon has the moweraxle front license plate mount. Between MowerAxle and the GoMiniGo, I would choose the latter.
 
Save
#27 ·
Nice solution. I wish my car didn't originally come from a state that required front plates (Delaware does not) or mine would be naked up front. Since I had holes already drilled, I went the proper mounted euro plate route. As a cop, I never harass people for lack of a front plate, rear plate... yeah, I'll talk to you then.
 
#28 ·
Updated photos

In preparation for San Diego tomorrow, I remounted the front license plate holder. This time the T-hooks were placed on the second row of openings ( to lift the license plate up a few cm)

Image


Image


Image


Image
 
  • Like
Reactions: pnsji and jameslk55
Save
#29 ·
Very nice Eddy. I got the cabinet fasteners in today, but it appears they are only the sleeves (what the site calls the "female" part). Is the screw itself something you already have, or do I have to order those separately?
 
#31 ·
I had been thinking about replicating Eddy's technique when this morning I stumbled upon a little baggie at my local swapmeet of something called a wellnut. I bought a bag containing 8 for the nice price of US$1.

I ended up having to buy some 10-24 machine screws (another US$1). Raised the OEM bracket with some weather stripping and mounted. Works a treat! Here's some pictures.
 

Attachments

#34 ·
I had been thinking about replicating Eddy's technique when this morning I stumbled upon a little baggie at my local swapmeet of something called a wellnut. I bought a bag containing 8 for the nice price of US$1.

I ended up having to buy some 10-24 machine screws (another US$1). Raised the OEM bracket with some weather stripping and mounted. Works a treat! Here's some pictures.
Nice job..it looks pretty clean!
 
Save
Status
Not open for further replies.
You have insufficient privileges to reply here.